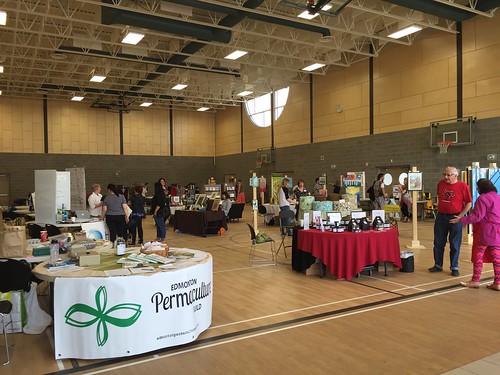
Northlands’ Food Lab workshops at FarmFair International (an agricultural showcase which runs every November) are one of the best hands-on cooking class deals in Edmonton. They’re free with the price of FarmFair admission, which is just $5! I only signed up for one this year, but one could easily sign up for multiple workshops to stretch their dollar value even more. I participated in one of the first Food Labs organized back in 2015.
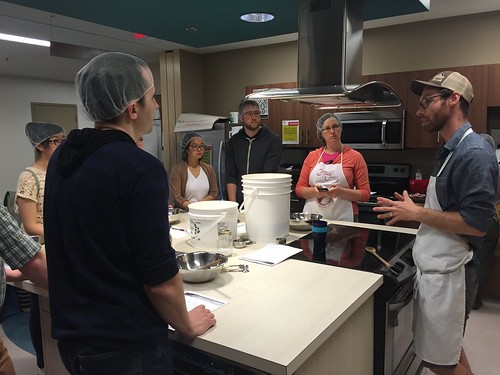
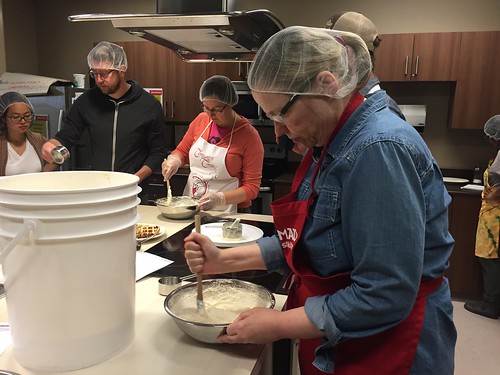
Su and I were curious about the idea of “lemon cheese”, so we registered for one of the workshops that took place on a Saturday afternoon. Although the class was full on paper, quite a few participants didn’t show, so each attendee ended up with their own station (and a product portion that was generous enough to feed a family of four).
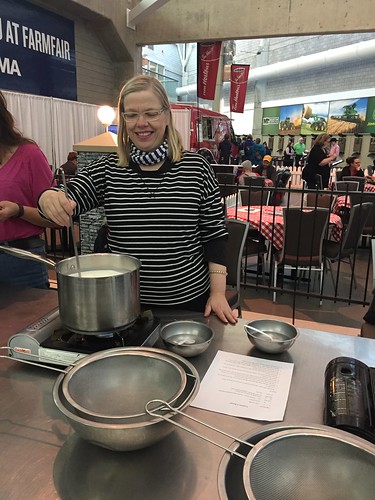
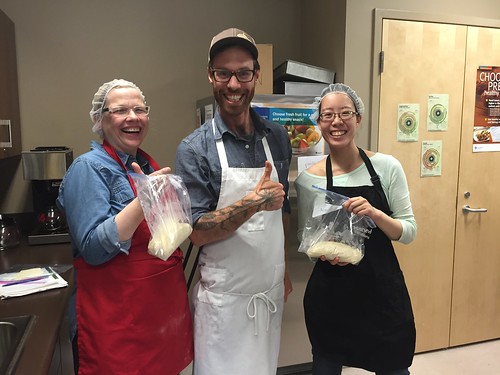
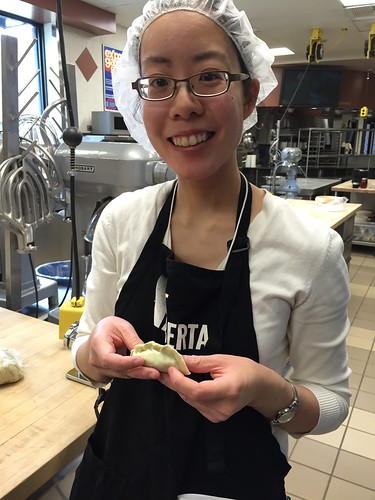
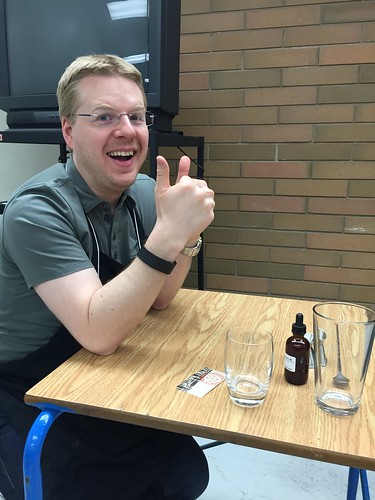
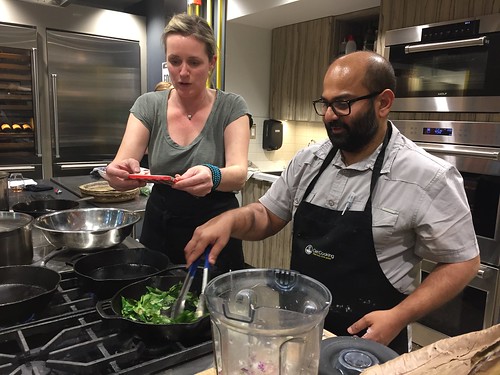
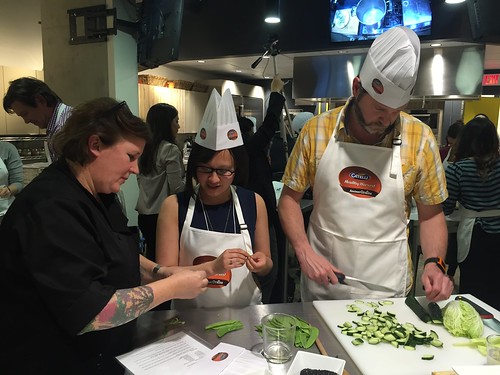
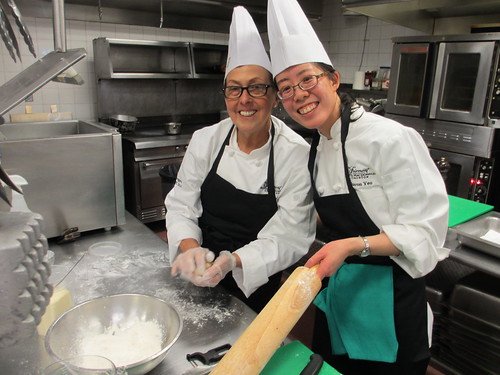
Su at her station
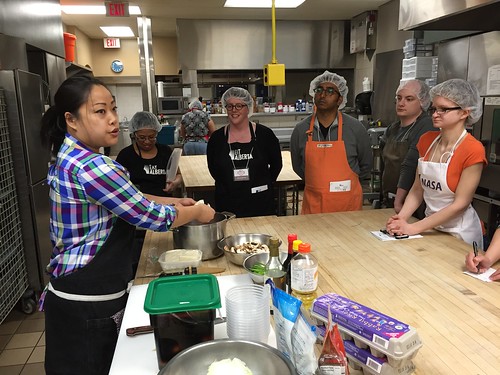
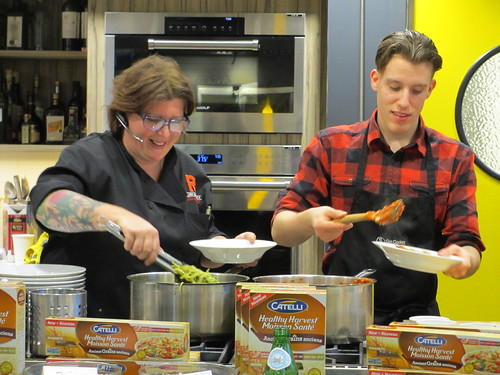
The instructor was one that we were both very familiar with due to our prior involvement with Eat Alberta. Chef Allan Roote from NAIT was one of our faithful cheese instructors for several conferences. However, neither Su or I had experienced his instruction first hand.
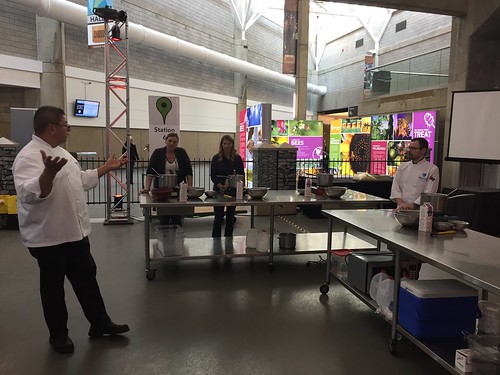
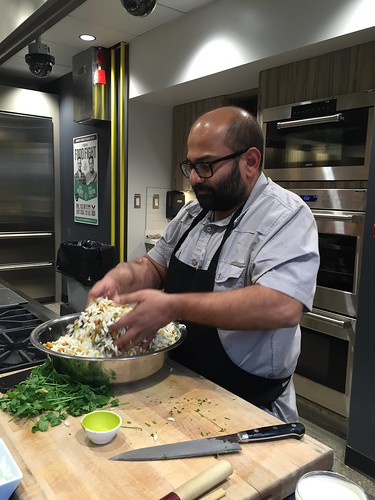
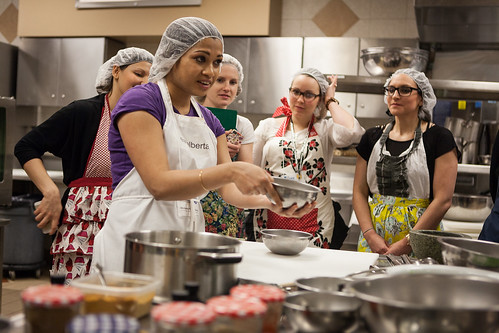
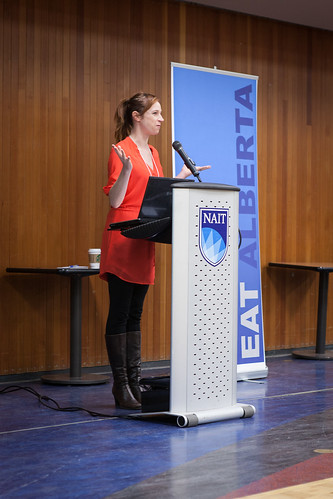
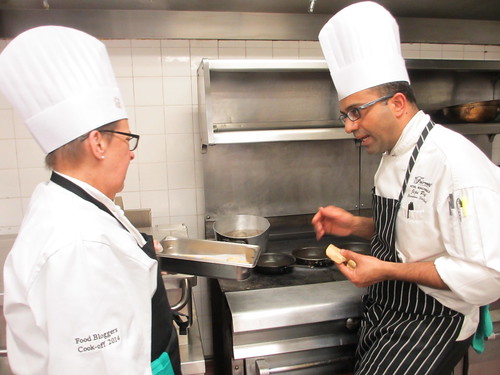
Chef Roote addresses the group
The lemon cheese recipe we were directed to make was similar to a ricotta; it would serve well as an entertaining staple alongside crackers and crudités. As Su and I were both new to cheesemaking, we were particularly grateful this recipe was ideal for beginners – the instructions and techniques were straightforward and would be easy to replicate at home. Chef Roote was also a great teacher, patiently answering questions and offering guidance to participants as he checked in on each station.
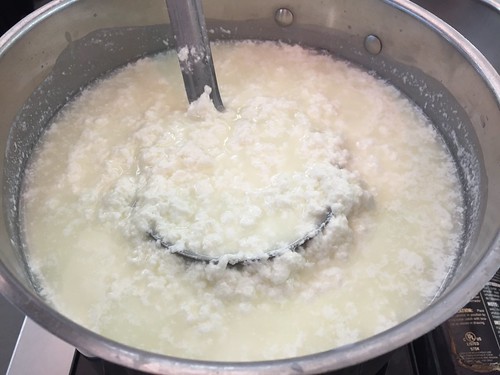
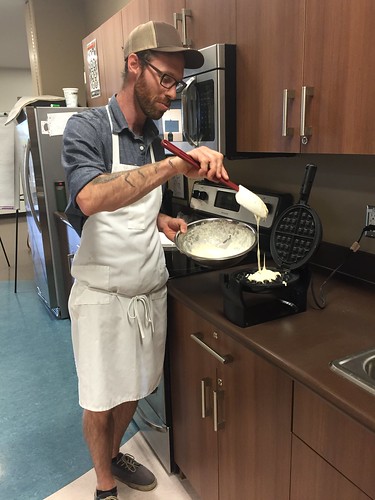
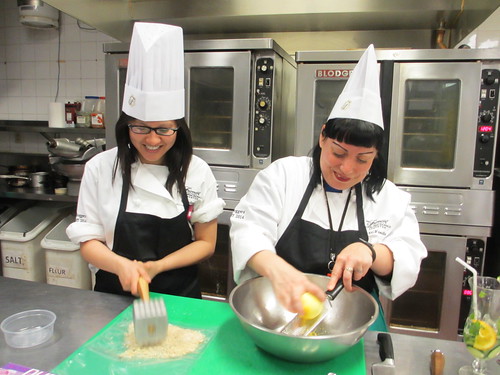
Separating the milk and curds
One tip – it was recommended that a metal spoon be used to stir together the milk base; as wooden spoons are porous, any flavours absorbed into the wood would be imparted into the final product. We also sped up the process described below considerably – as the entire workshop was about an hour long, we did not have time to leave the mixture undisturbed for 3-4 hours, or to drain the curd for 12 hours before adding the seasonings. Although I did let the cheese rest overnight in the fridge before sampling it, the final product didn’t seem to be hampered by the shortcuts we took.
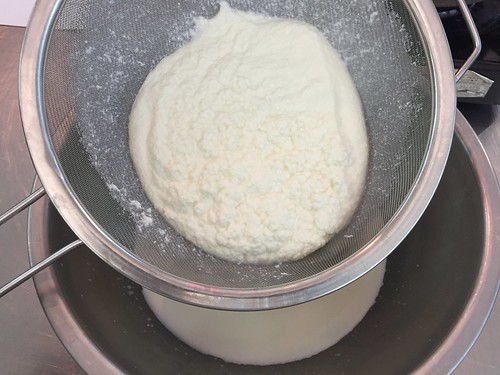
Draining the curd
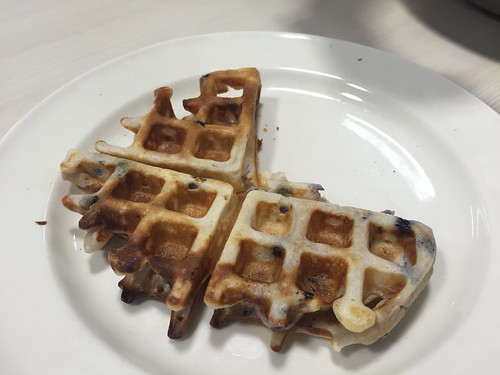
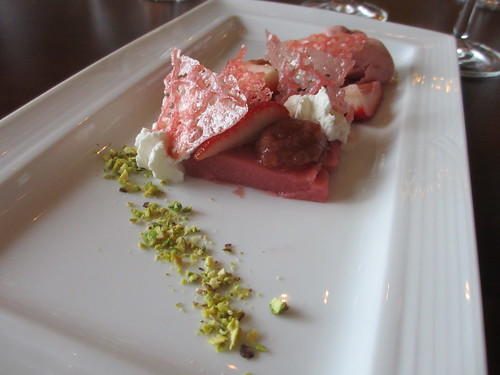
The light, spreadable cheese we ended up with kept in the fridge for a week. We enjoyed it with crackers and a sprinkling of fleur de sel, though I also heard it was pretty tasty paired with cinnamon raisin toast, too.
Lemon Cheese
3L 3.25% milk
1L heavy cream
150-400mL lemon juice (freshly squeezed and strained) or 30g citric acid or acid of your choice
zested and finely chopped lemon rind (optional)
sea salt (to taste)
- Pour the milk and cream into a stainless steel pot and heat to 100F (no higher).
- Remove the pot from the heat and add the lemon juice. Stir the milk slowly until the milk and cream mixture starts to curdle and separate.
- Leave the milk mixture undisturbed at room temperature for 3-4 hours.
- Drain the curd into a strainer lined with cheesecloth. Let the curd drain in the cooler for 12 hours.
- Put the drained curds into a large stainless steel bowl and add the lemon zest. Season with salt to taste. Be careful not to touch the cheese with your hands as this will speed up the deterioration process of the cheese.
- Press the cheese into a mold. Top the cheese with a 2kg weight. Pres the cheese overnight under refrigeration to expel any excess whey.
- Unmold the cheese and use within the next 4-5 days.
While I haven’t yet had a chance to replicate lemon cheese again, it is a recipe I can see myself making for company or for gifts. Kudos to Northlands and NAIT for putting together such a great and value-oriented learning opportunity!